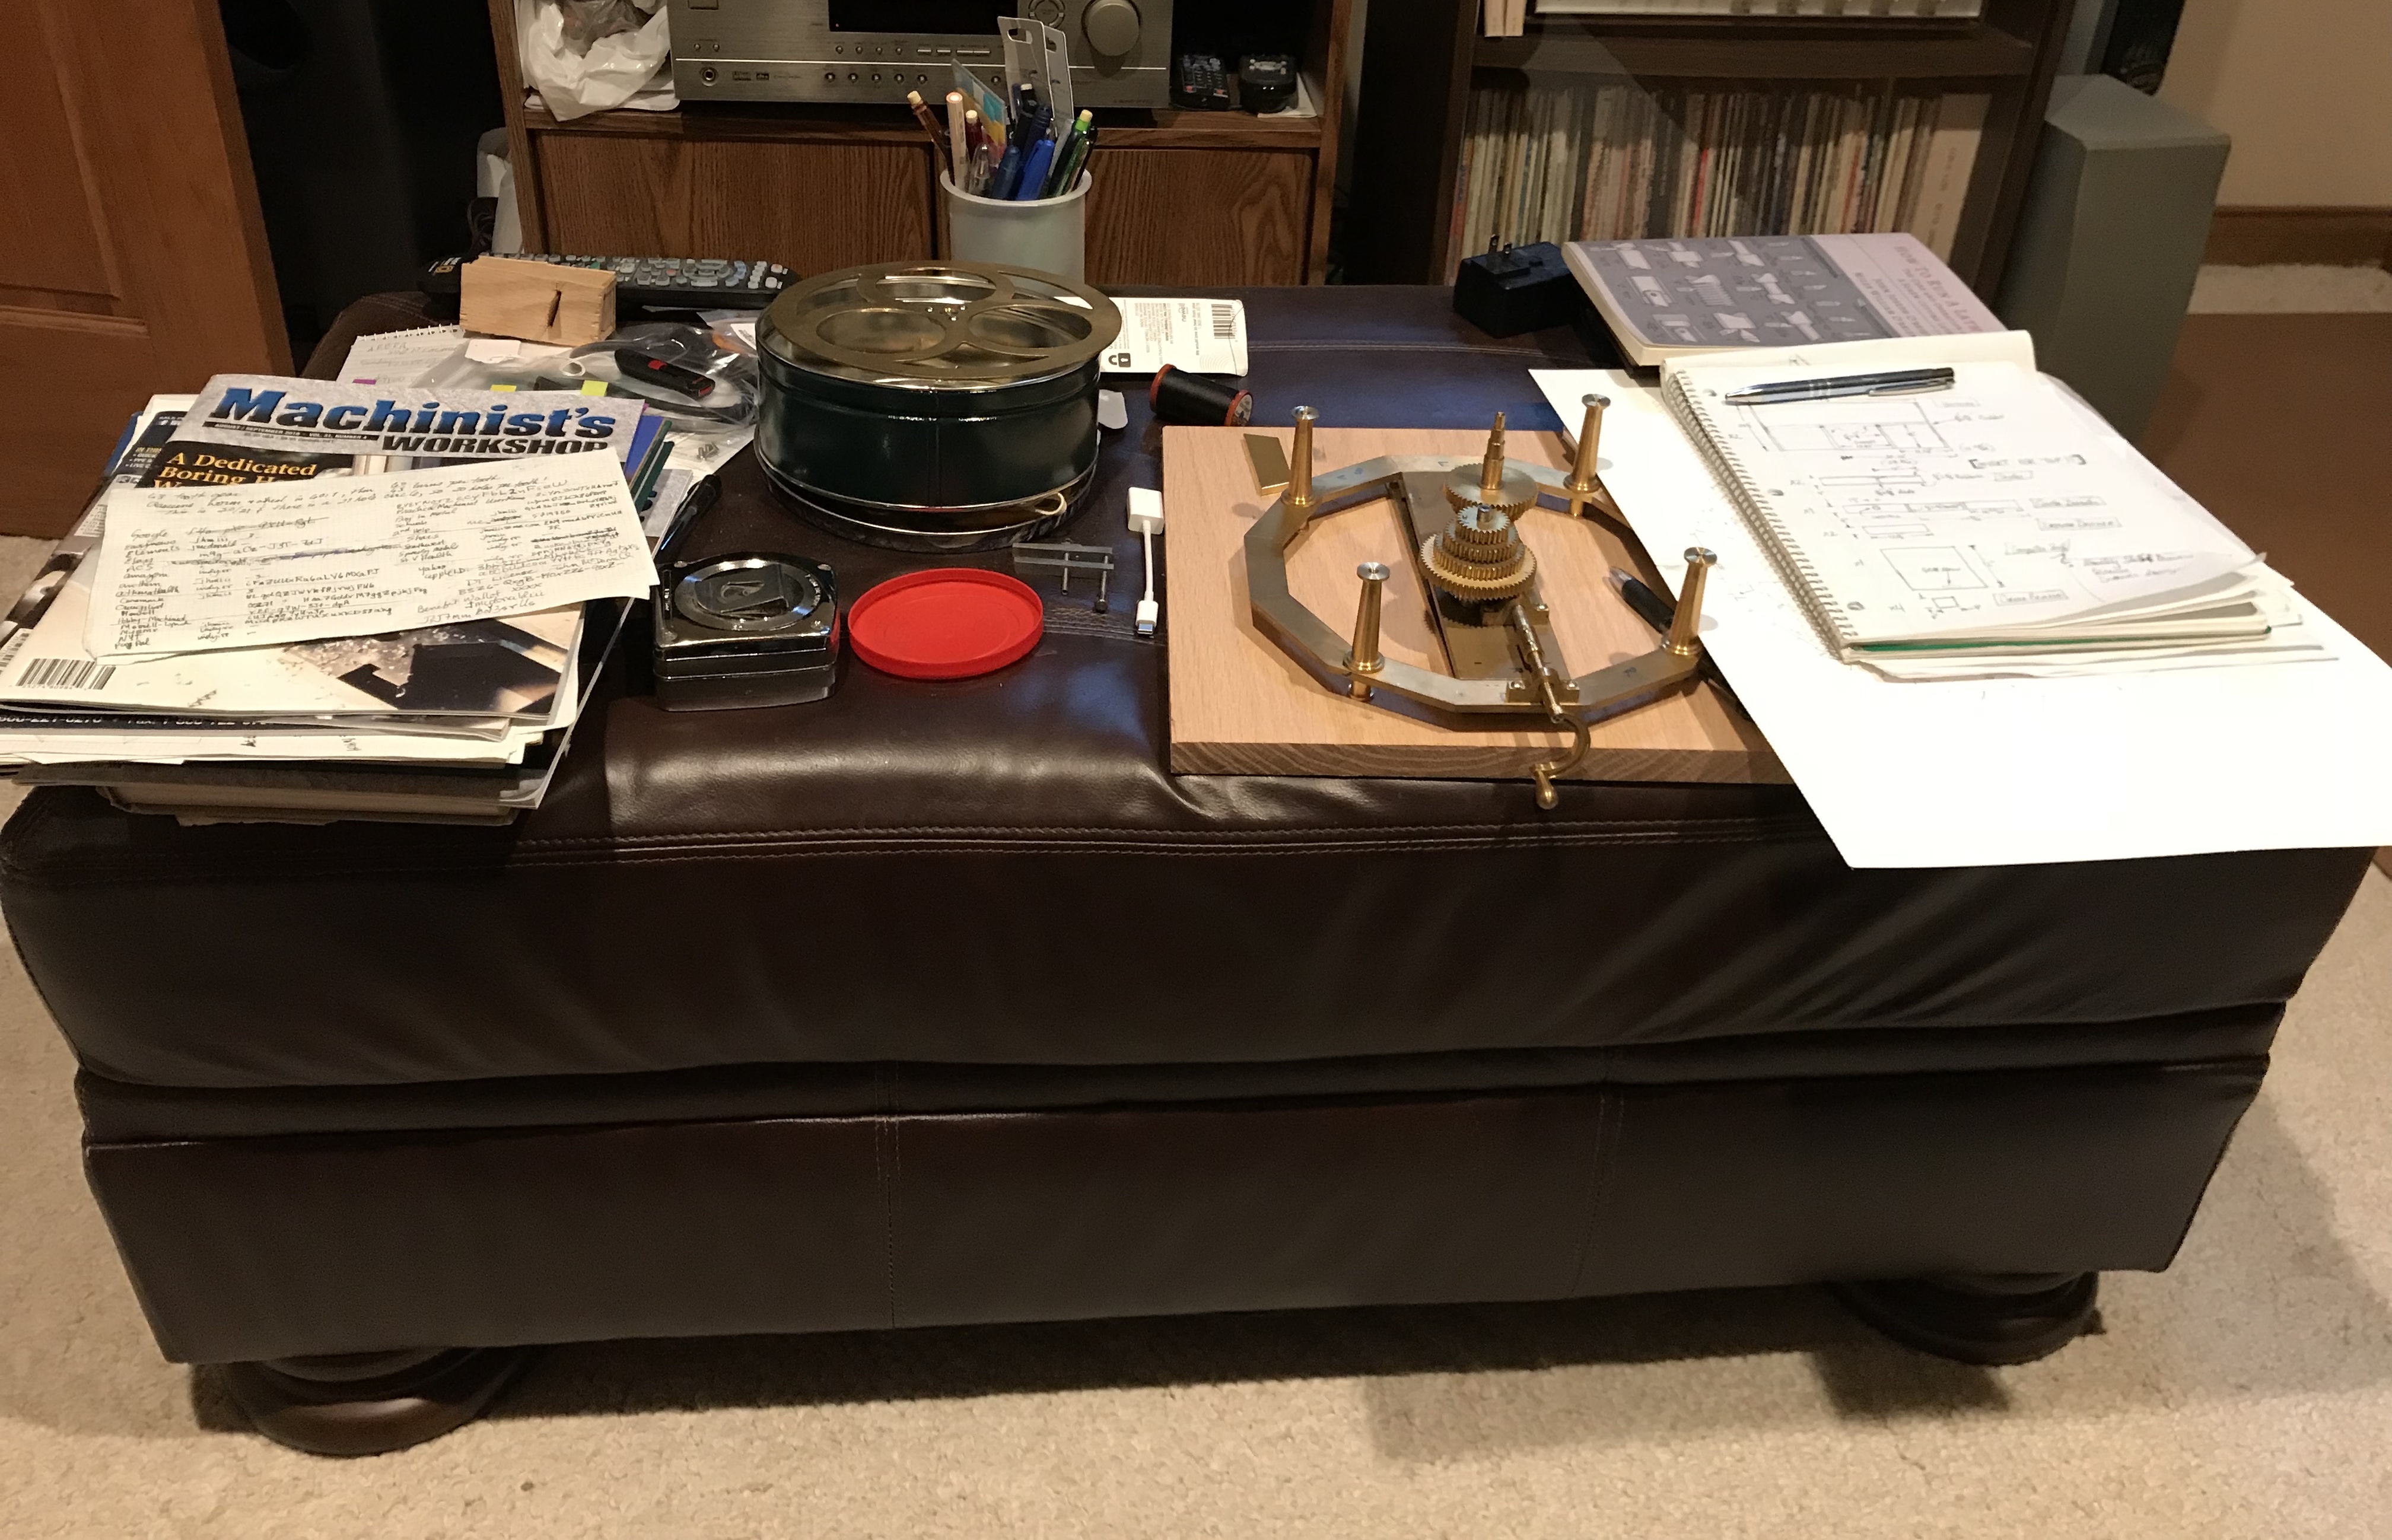
I have wanted a work table for some time. I need a place to keep notes, use the computer, assemble small projects, etc. A table against the wall that could drop down out of the way was considered, but it would not be usable on a daily basis. Currently, the large foot stool is used as a table as it is right in front of the chair. This provided the idea to simply make a table that sits on top of the foot stool. This would provide a few benefits. It would be higher. It could have a few drawers and a slide-out computer rest. It would be level. It could serve as a writing table and assembly table.
The top cushion on the foot stool is 22" X 43". Two corners will need corner brackets to keep the table from shifting to the side or front to back. A 4' X 8' sheet of 3/4" baltic birch is waiting in the garage for some use having been extra material for the dodecahedron library. The car is in the body shop for repairs after a recent accident so now is the ideal time to cut up this large sheet into parts for a useful cause. The table will consist of two layers of the baltic birch separated by about 4". This space will house two drawers and a slide-out shelf. These three items will not use up the entire 22" of depth so the back will be left open for more storage. One never has enough space to store unused crap!
With the corner brackets in place the top and bottom boards will need to be 23.5" X 44.5". The plan is to use dadoes and rabbets for all of the parts that connect the top and bottom boards. Glue and no screws are planned except for the corner brackets. A crude layout is diagrammed below highlighting the dadoes and rabbets on the top and bottom. Not noted on this diagram is the distance from the outside of one of the vertical dadoes to the board edge. This distance is 14 37/64".
The plywood was laid on 2 X 4's on the garage floor with a 2 X 4 on each side of the planned cut and other boards as needed to support the rest of the large sheet. Two boards were cut from the Baltic Birch plywood, 23 1/2" X 48", using a circular saw with an aluminum guide set 1 5/8" from the desired cut. Three 4 3/4" X 48" boards were cut the same way. Cutting the dadoes is next and poses a problem. Since the top and bottom are mirror images, they cannot be cut in the same setup. The left dado on the top needs to align with the right dado on the bottom. Getting these accurately cut is paramount to correct assembly. The simplest way to avoid this issue is by cutting the dadoes all the way across the top and bottom. The parts are no longer mirror images and all four dadoes can be cut on the same setup on the table saw. By the way 3/4" Baltic Birch plywood is 0.710" (180 mm) thick.
The center divider and the top and bottom were cut to length (44 1/2") on the table saw using the crosscut sled. The dado blade set was adjusted until it measured 0.720" using various shims in the set. Height was adjusted to 0.375". (Did not think it necessary to modify this based on the wood thickness.) The fence was set on the left side of the blade so the fence to approximate dado center was 14 1/2". (A slight modification of the distances noted in the above diagram.) The miter gauge was used to move the center divider past the dado blade. Each end was aligned with the fence producing the two dadoes. The larger top and bottom were moved over the dado blade by hand again on both ends. Accuracy in this case is dependent on accurately reproducing the length of all three parts.
The dado blade set was then set to 0.360" with shims for the rabbets. The fence was set up against the dado blade as accurately as possible. After a successful test run a 48" board was run down both sides creating the rabbets on the two sides. After finding the optimal location for the table saw rabbets were cut along both sides of the top and bottom. The dado was returned to 0.720" and the dadoes were cut across the sides and the long dadoes across the top and bottom. All parts were marked with a front. The long dadoes in the top and bottom were very difficult to cut as it was difficult to keep sufficient pressure on the top of the large board. As a consequence these dadoes needed significant "completion" with a 1/2" chisel. There was also a lot of tear out along these dadoes.
The drawer fixtures and the computer pullout need to be installed prior to putting the box together. The runners will be made from 1/2" X 1/4" stock giving these fairly large drawers sufficient support. These will be placed halfway up the sides of the box ends and dividers. A stop also needs to be installed for the computer pullout. One or two screws through the back of the pullout will serve as the stops on the shelf and can be installed once the shelf is past the stop block affixed to the top of the table.
The four drawer guides were cut from 3/4" oak, 1/4" thick and then cut to 11 1/2" long. The pullout guides were also cut from 3/4" stock, but 1/2" thick. The pullout guides were installed first. In order to provide a little adjustment room, the through holes were drilled using a #8 wood screw drill. The matching holes in the side and left divider were drilled for a #6 wood screw. Two 3/4" long #6 wood screws were used to mount the pullout guides to their respective parts. They were mounted flush with the front and 7/8" down from the top. This leaves a 1/8" gap when using the 3/4" Baltic Birch plywood for the shelf. The four drawer guides were mounted similarly, except they were mounted 1/4" back from the front and 2" from the bottom of the part.
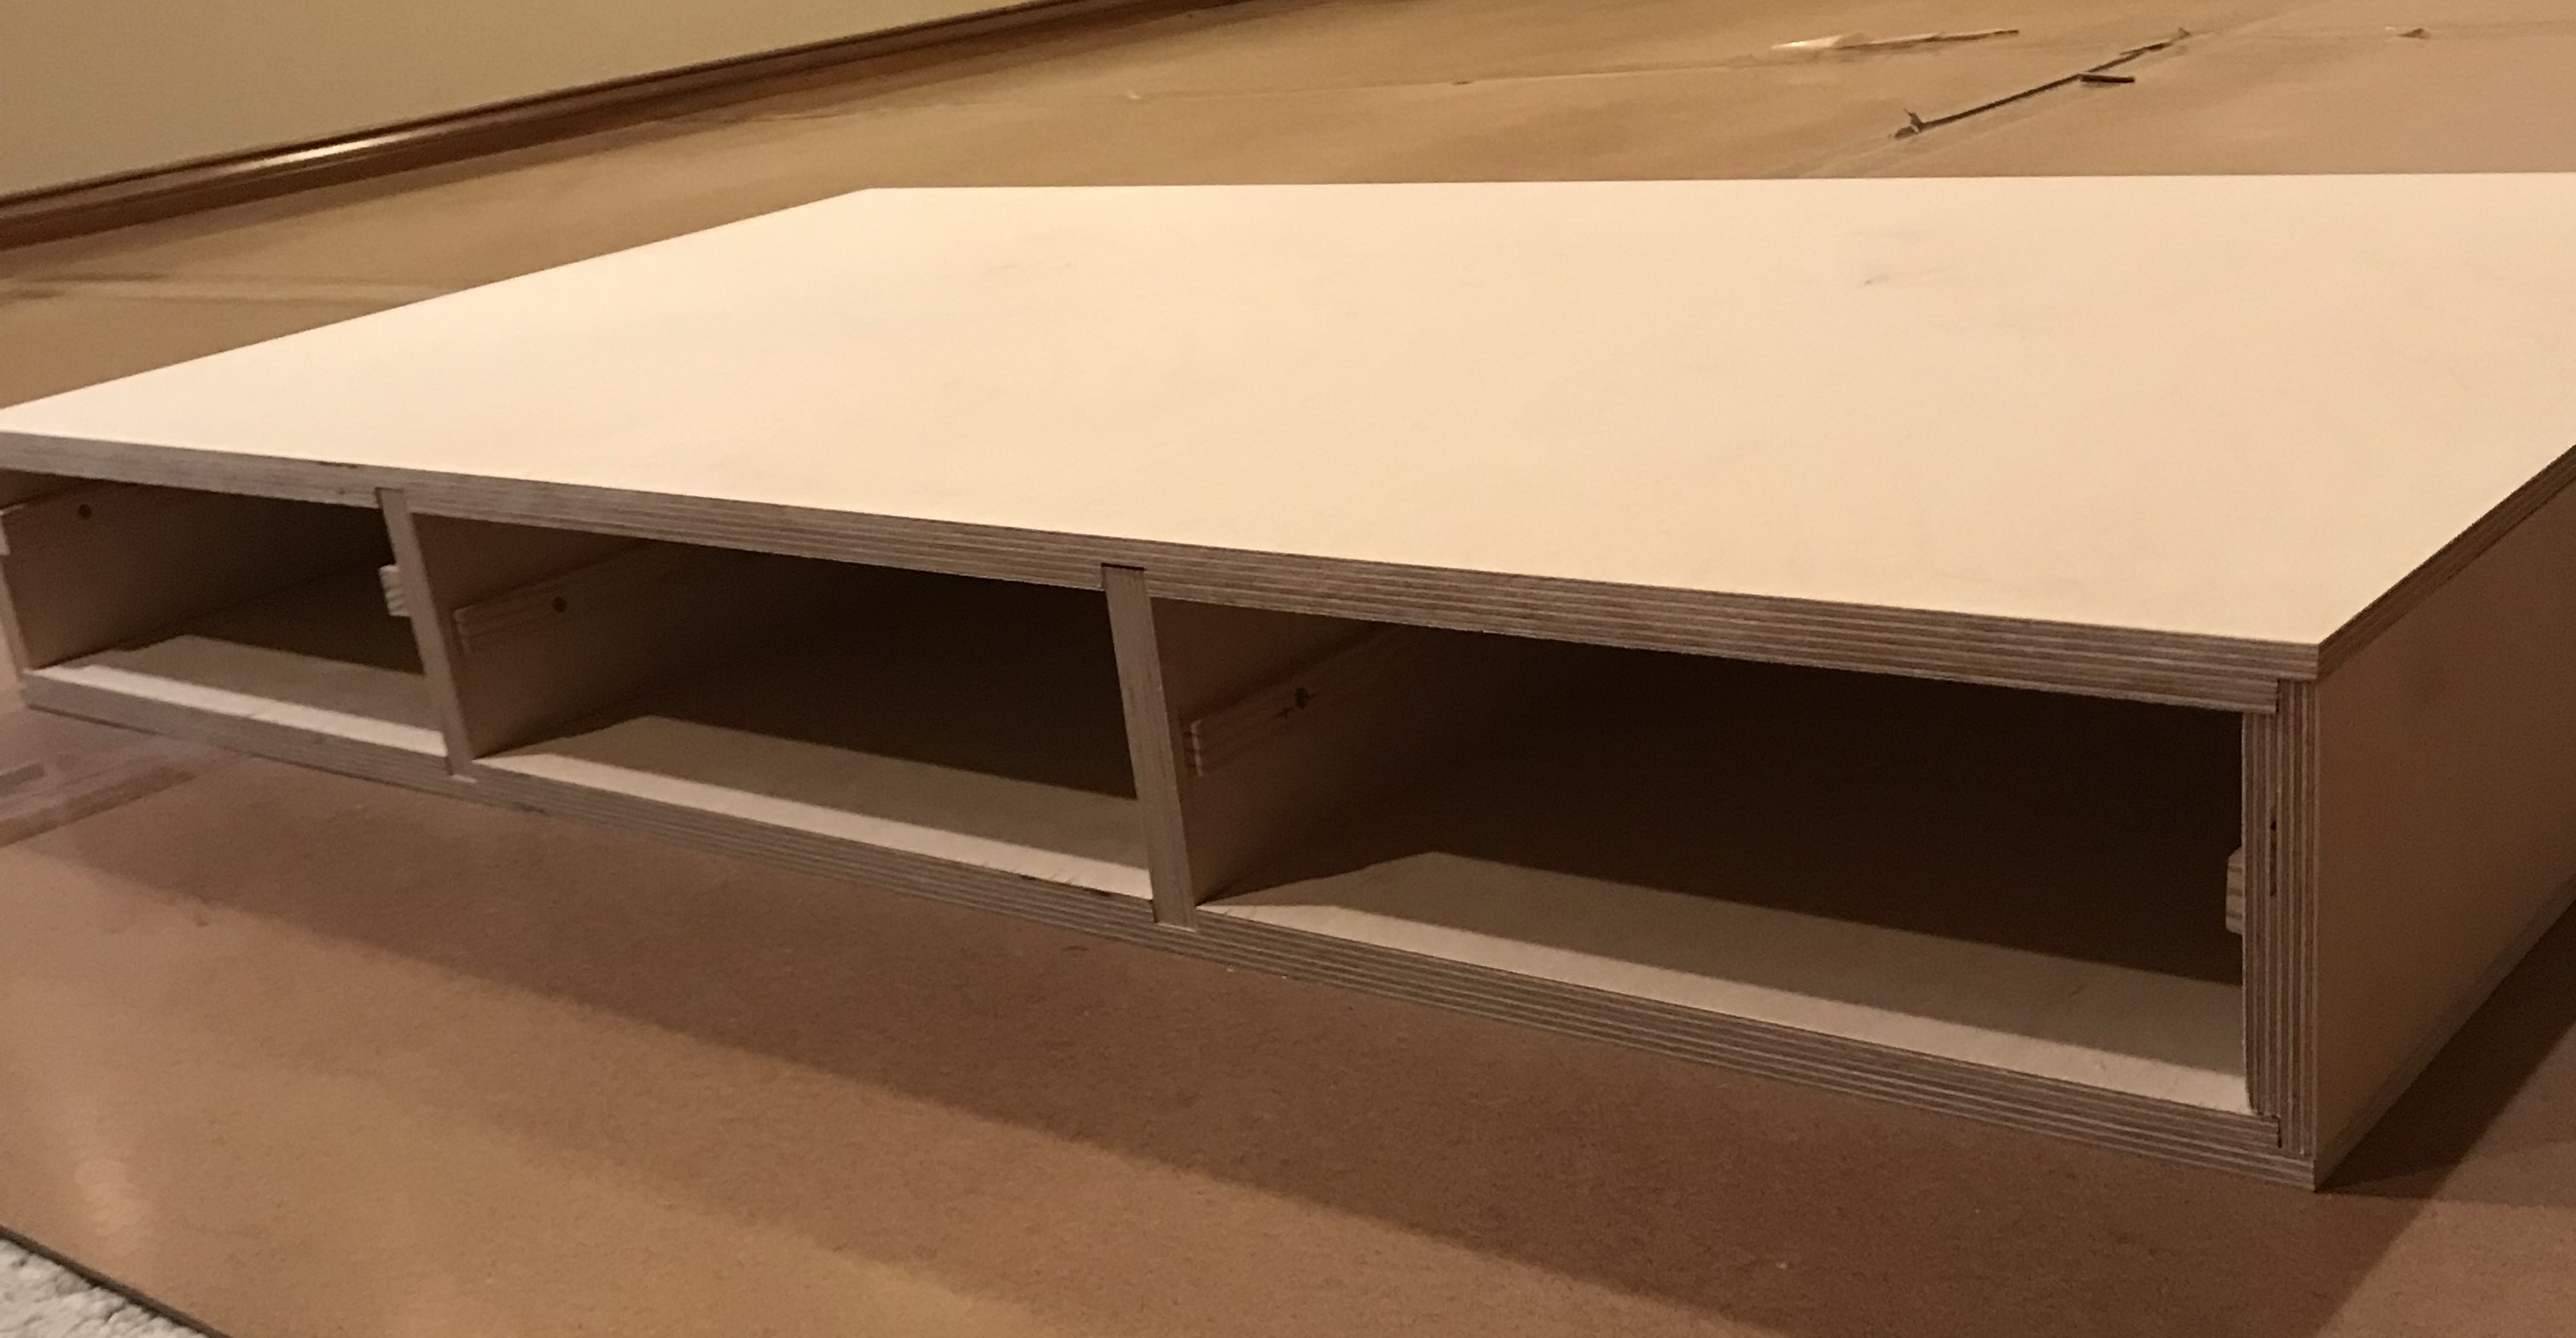
When a dry fit was attempted it was discovered that the long center divider's dadoes for the two drawer dividers were slightly off alignment with the dadoes in the top and bottom. These dadoes were widened slightly with the table saw resulting in a slightly loose fit. This same divider was also drilled for a cord hole. A 1 1/2" hole saw was used to make this hole. A small depth was drilled and then the hole saw was cleaned of the glue that built up in the teeth. Repeating this numerous times gave a clean hole and a smelly basement. Dry fitting all of the parts resulted in a very solid table.
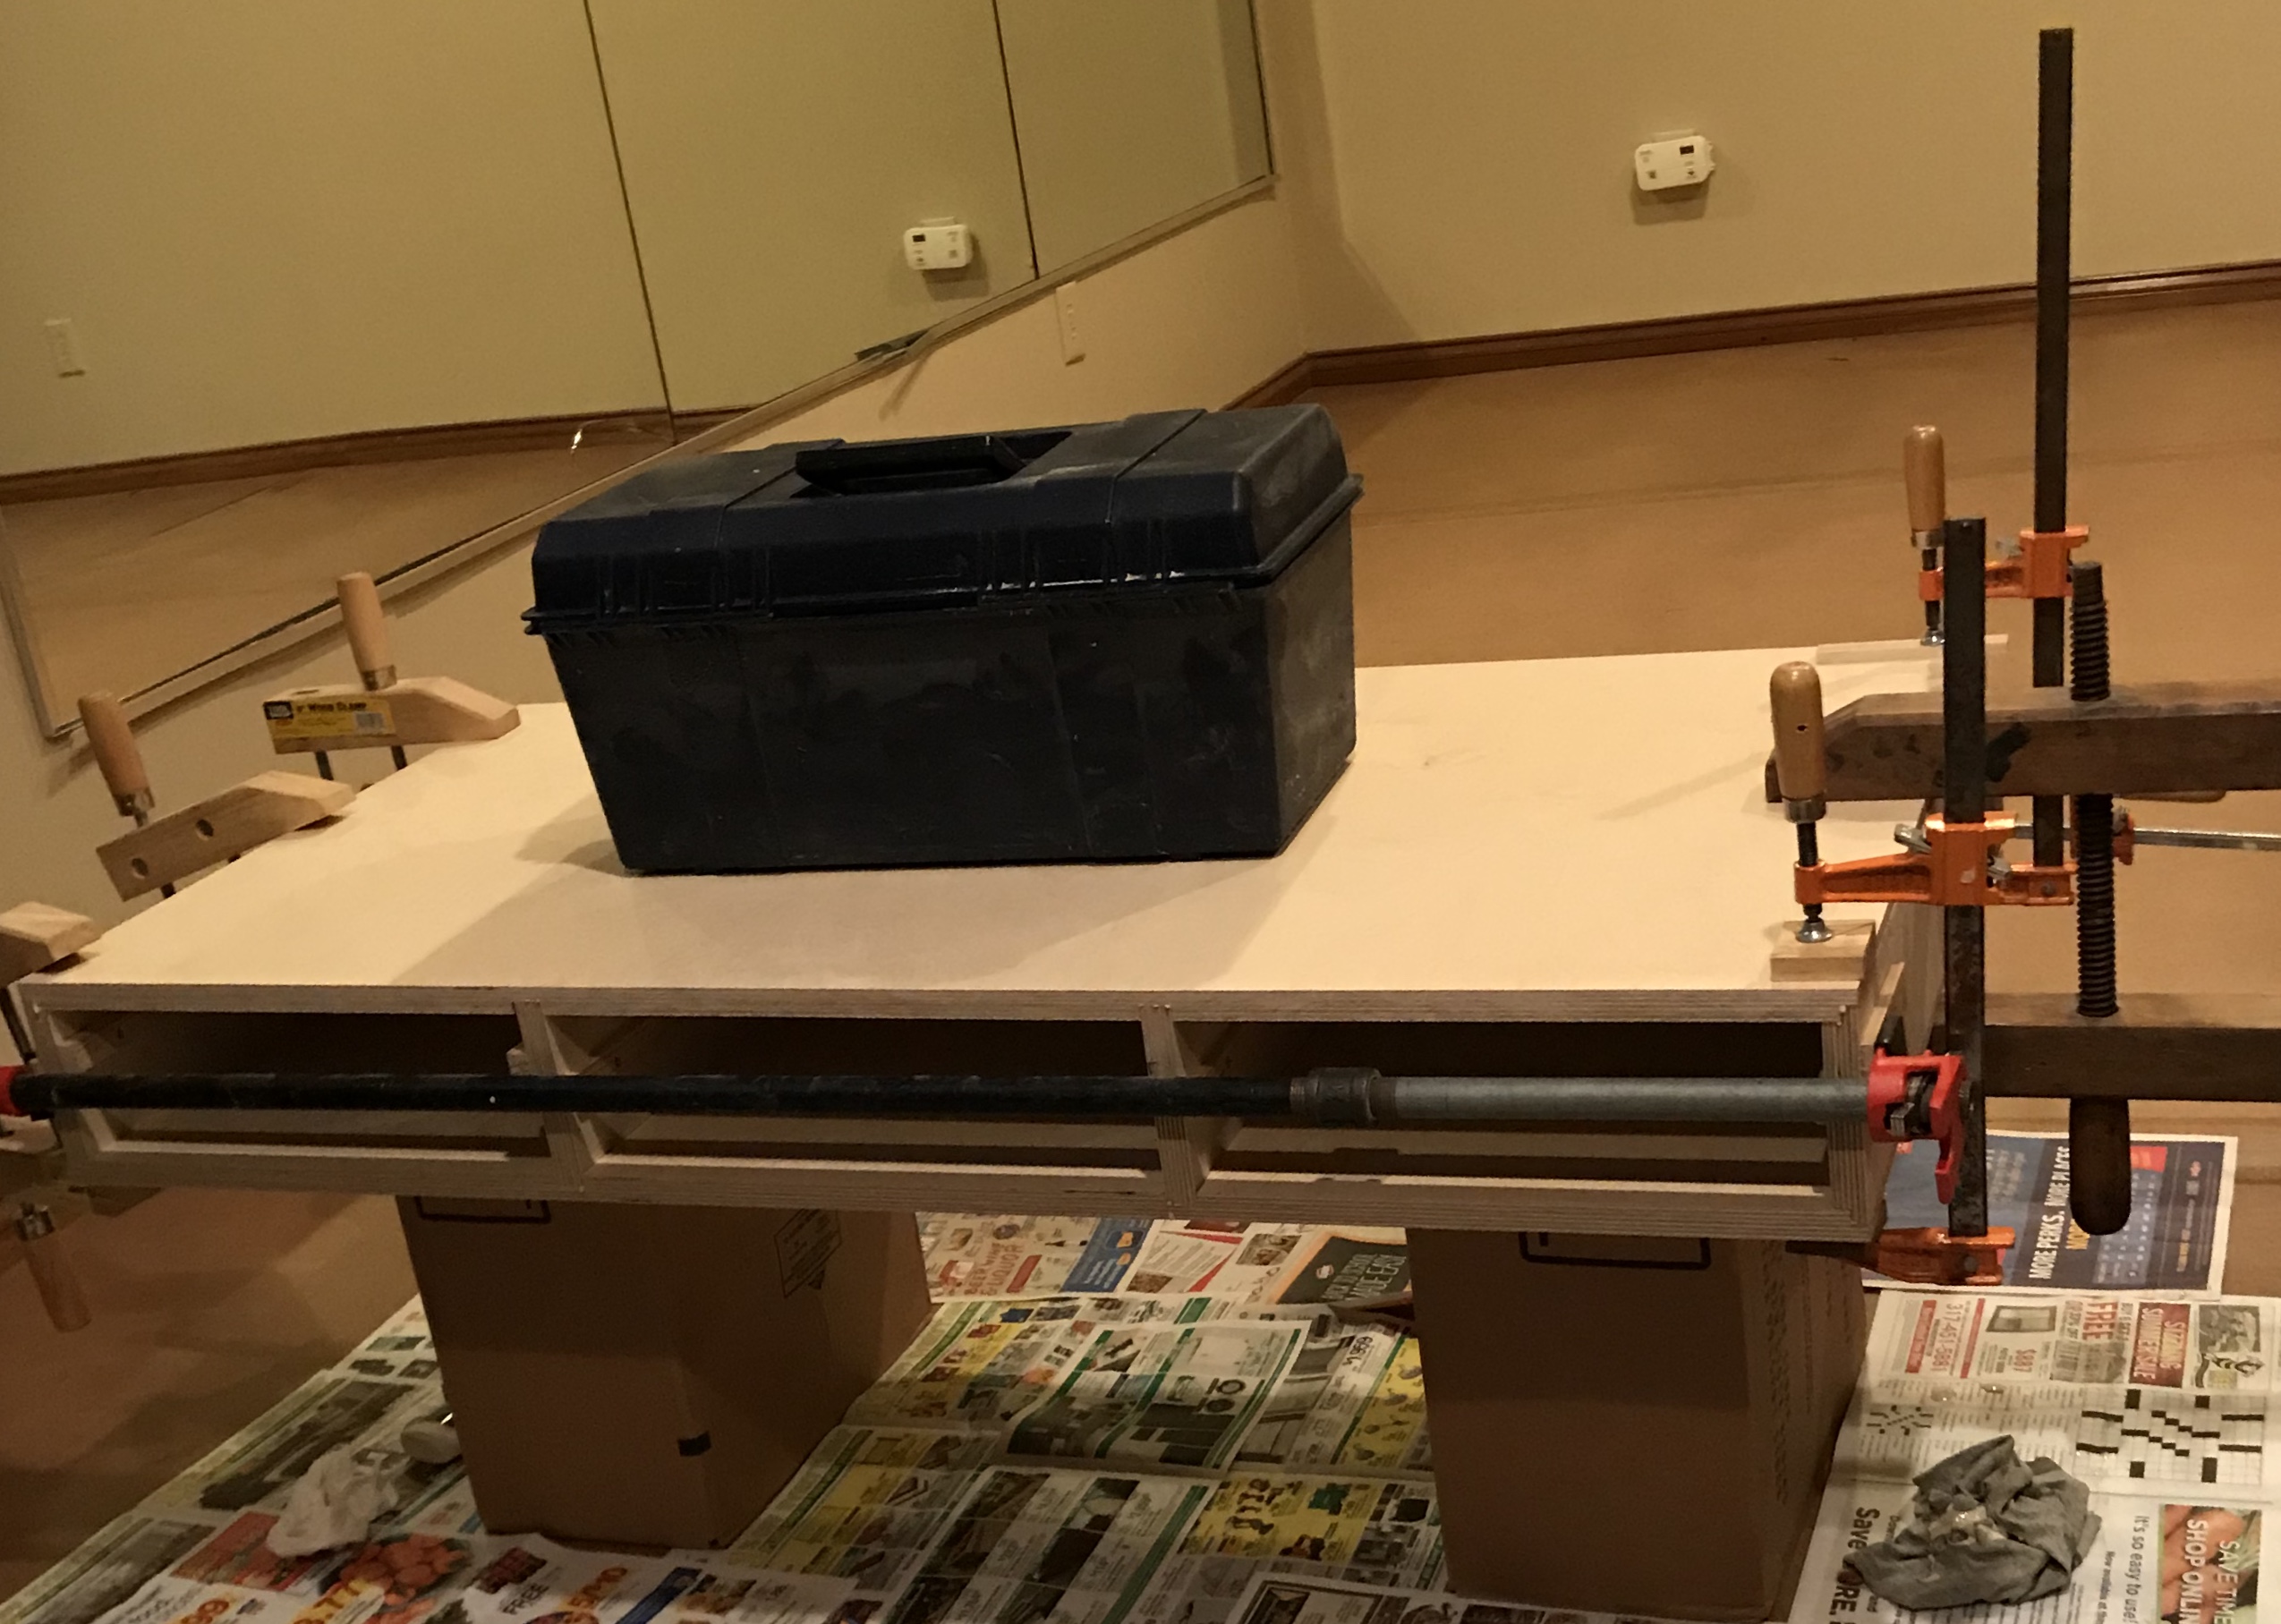
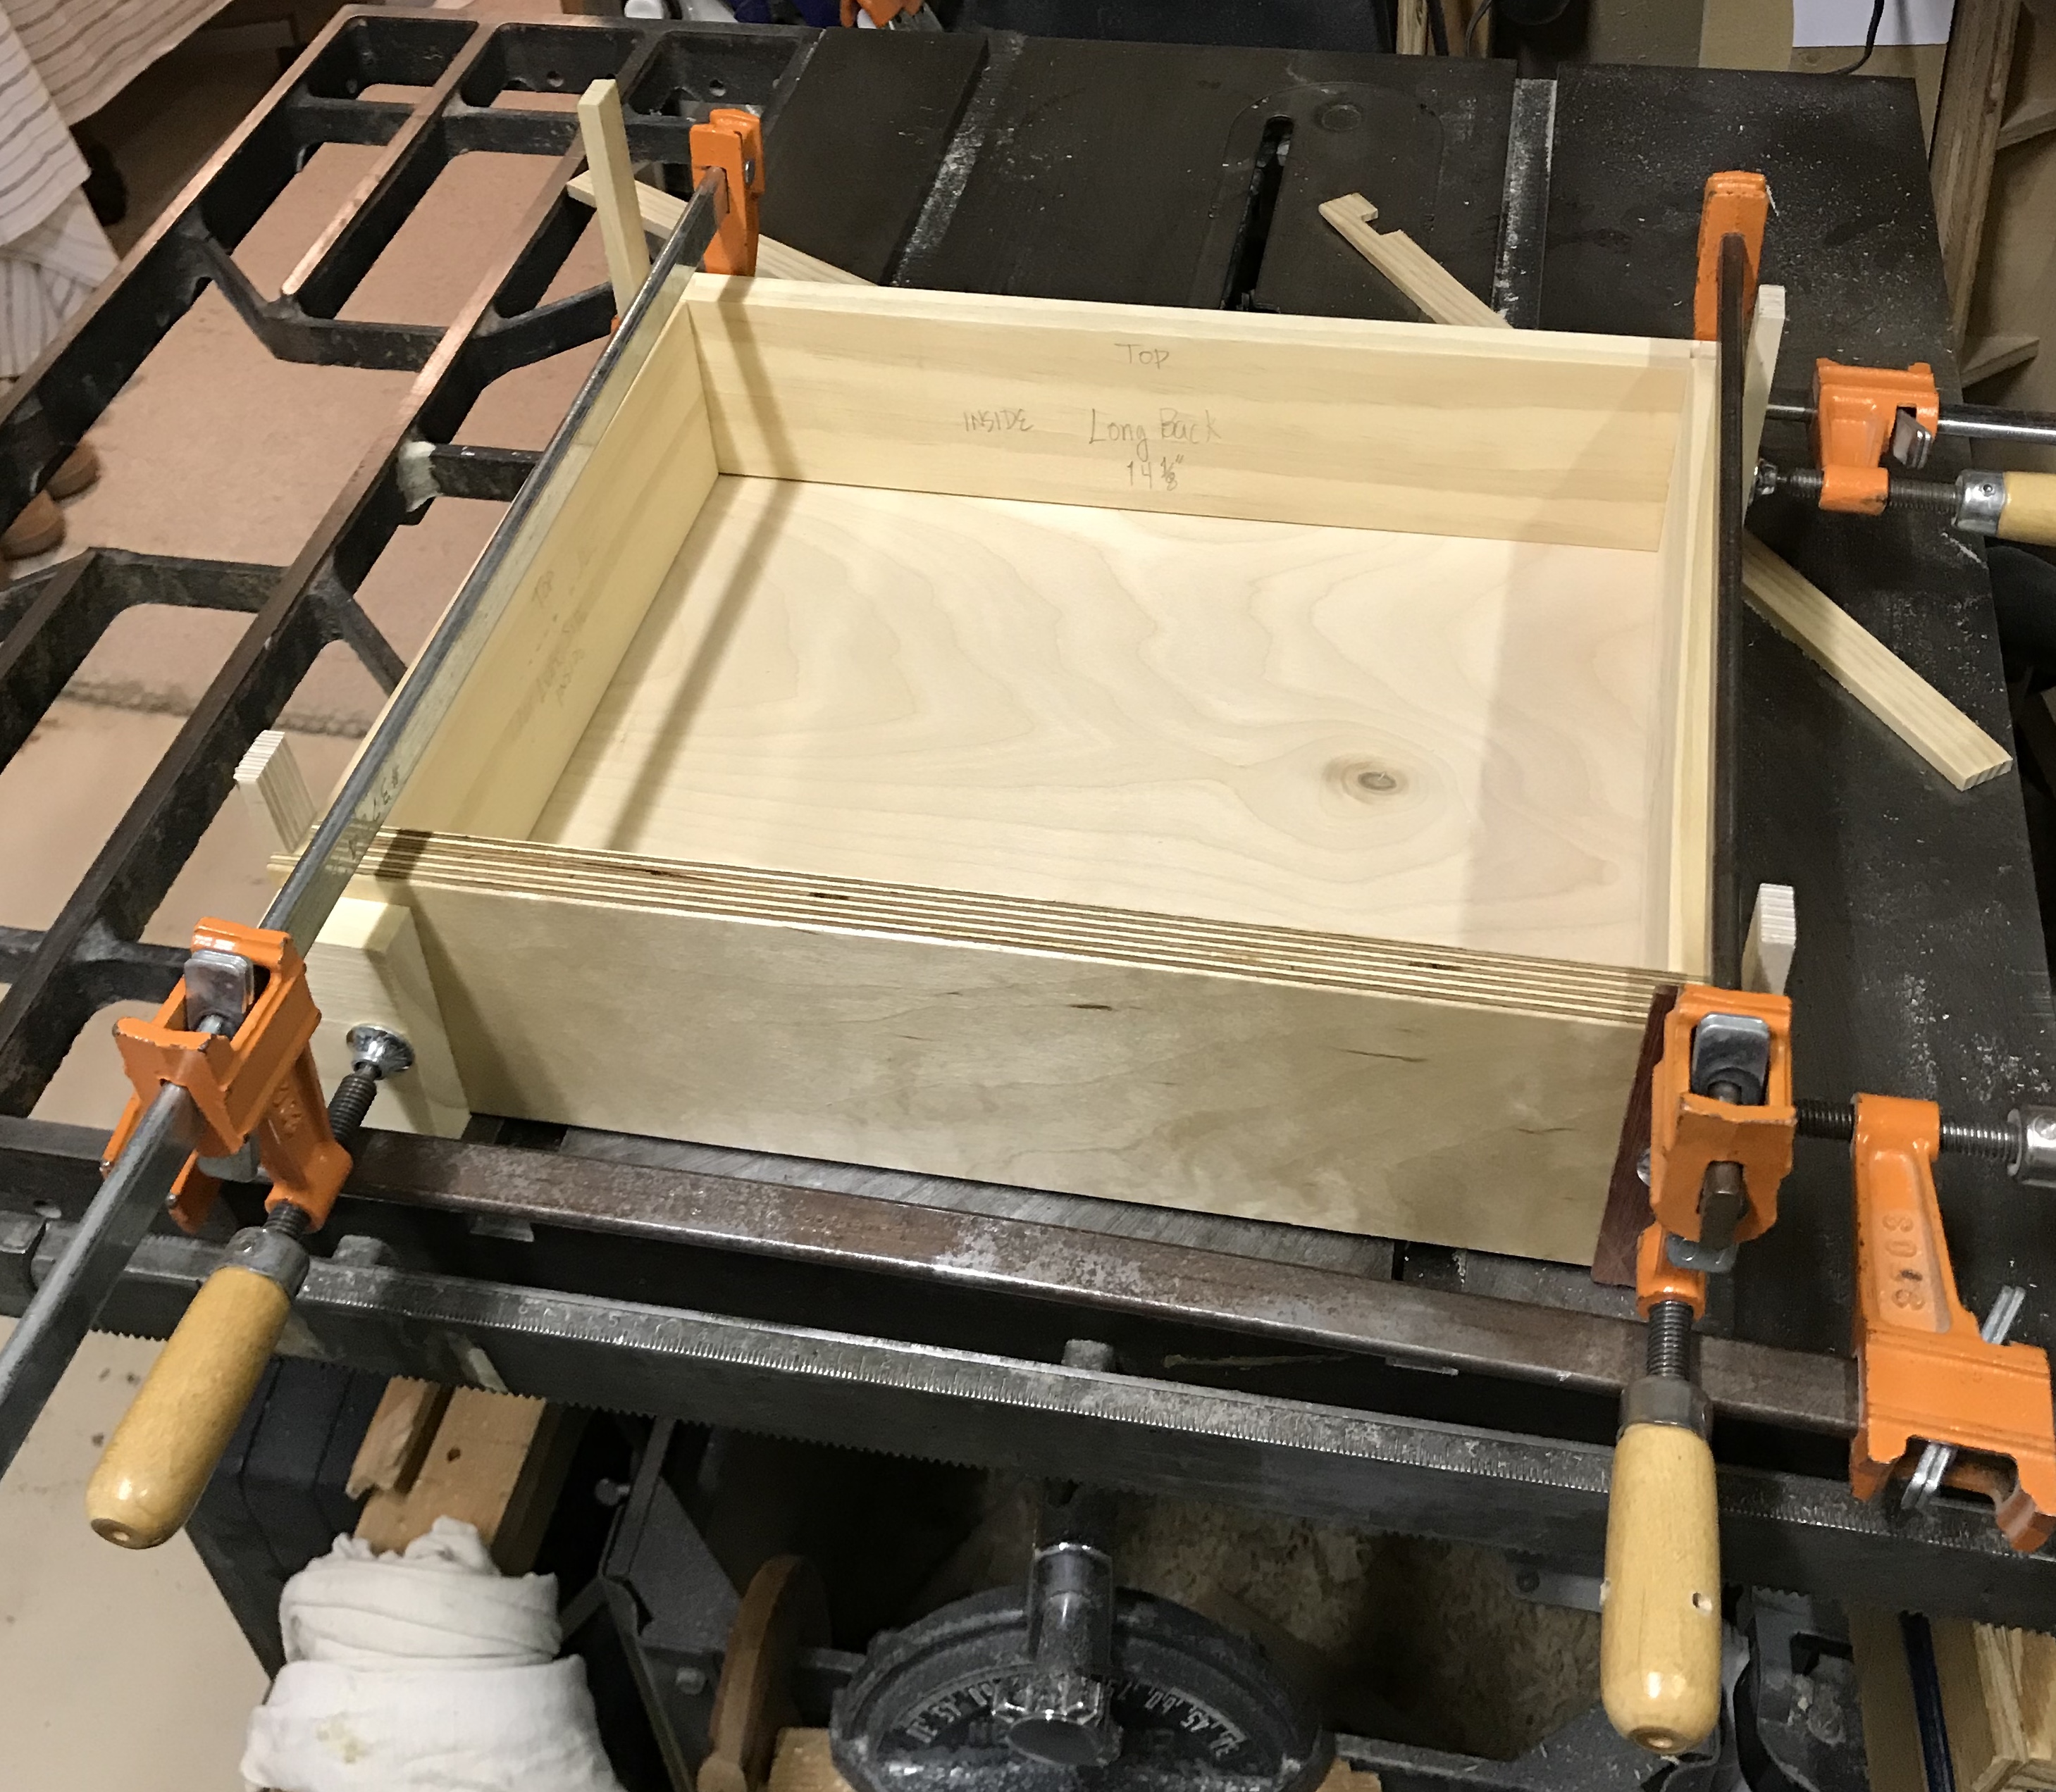
The bottom was placed on two boxes and glue put in the long dado and two short dadoes. The three dividers were put in place, glue was placed in the top dadoes, and the top was put on the dividers. Clamps were placed on the front of the two drawer dividers and on both ends of the long divider. Glue was put on both of the rabbeted edges of the sides and on the rabbeted edges of the top/bottom. The sides were put in place and clamped vertically on corners and from end to end. The pipe clamp used an extension and two bar clamps used a budgie to link them for the span. A full toolbox was used to provide some "clamping" for the top and bottom in the middle. The two front divider clamps had to be used for end clamping as shown in the picture below. Clearly, one can never have enough clamps.
I have not decided whether to paint the table or to leave it unfinished. If it is finely sanded, it might better serve as both a drawing table and assembly table. Maybe a few coats of tung oil only to seal and to provide a harder surface?? The runners need to be waxed and the corners need to be chamfered. The board that serves as the computer slide will be made to fit about 1/16" narrower than the opening to minimize its ability to get cockeyed during closing. Similarly, the drawers will have minimum side-to-side clearance like the the machinist's tool chest.
Chamfered the corners. The corner plane worked well with the grain on the short sides. Sanded the top, faces and sides with the random orbit sander using 150 grit paper. Took a sample of the Baltic Birch, sanded it, and finished it with tung oil to see how it looks. Decided to go with the tung oil. The shelf was cut to fit the opening as were the two drawer fronts. All parts had their edges rounded and were sanded with 150 grit sandpaper. The box, drawer fronts, and the shelf were coated with tung oil in the garage. They need to dry overnight before another coat can be applied. Three coats were applied in total to all four parts.
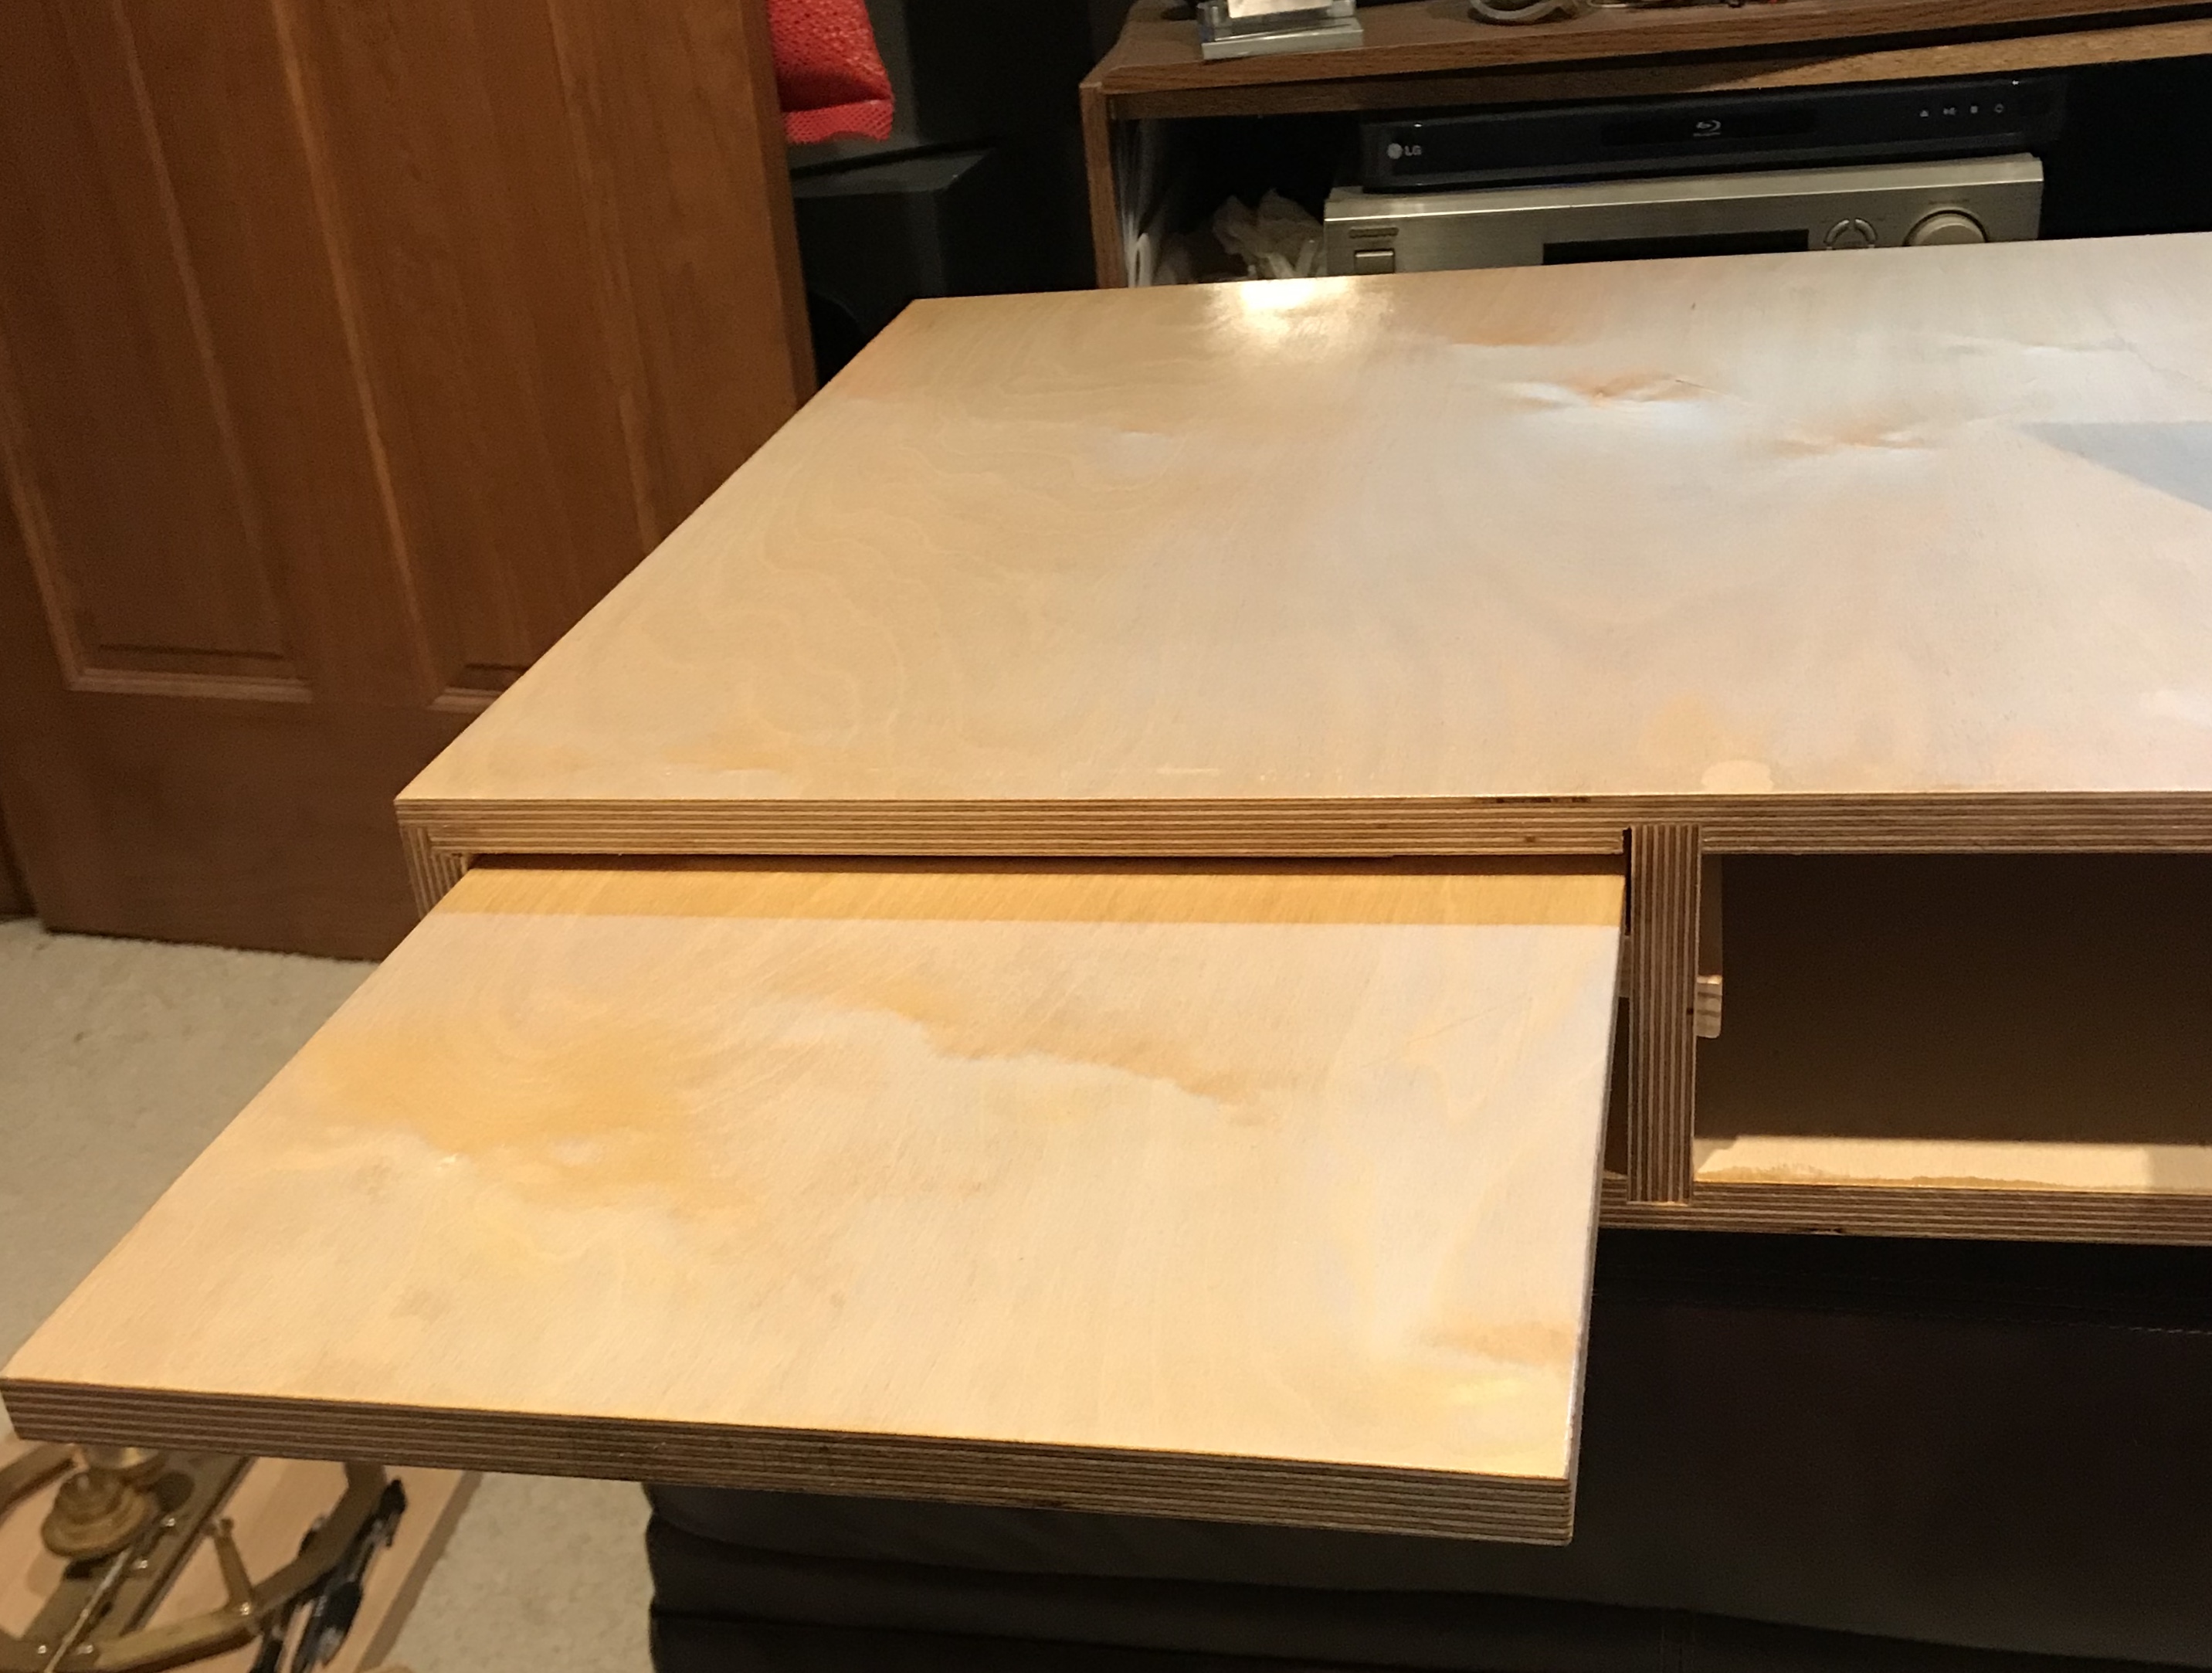
The shelf was completed with three operations. A 3/4" rounding bit was put in the router in the table. A stop was set about 7 11/16" to the left of the bit. A mark was made on the fence at 5 11/16" to the left of the bit. The fence was set 1/2" back from the back edge of the bit. The shelf was held bottom down with its left edge at the mark on the fence. The shelf was lowered onto the bit and then moved to the left until it hit the stop. The centered groove that was made in the bottom of the shelf was cleaned up with a bit of sanding. A 3/16" X 1" X 8" scrap of plywood was glued across the inside top of the shelf opening about 3/8" back from the front. This was clamped for 1.5 hrs. Two holes were drilled near the back edge of the shelf about 5" apart and 3/8" in from the back edge. They were first drilled with a 1/4" drill and followed with an "F" drill. The holes were then threaded with a 5/16"-18 tap. Two 1" screws were put in the holes. The shelf was inserted and the screws were screwed as far as they would go. They barely touch the top of the box and do a great job of stopping the shelf when it is pulled out. The screws and the glued in board keep the shelf from sitting at an angle when it is pulled out.
The drawers were initially planned with 1/2" X 3 1/2" stock, but I could only find 5/8" X 3 1/2" stock at Menards. After working with this wood for a bit I discovered that it is actually 1/32" thicker than 5/8"!!
The four sides were cut to length, 11 1/2", by aligning with a line on the crosscut sled. The two backs were also cut to length on the crosscut sled, 12 15/16" and 14 1/8". All of the parts were carefully labeled with name, inside, and top. The various cuts were also laid out on each piece. The table saw was set up with a 1/4" dado blade set to 1/4" high and with a fence set 1/4" from the blade. The dadoes for holding the drawer bottoms were cut on all sides, fronts, and backs. The blade was raised to 3/8" to make the following cuts. Dadoes were cut on the inside ends of the sides; one to fit the front and one to fit the back on each side. The backs were held vertically with the inside to the fence to cut the rabbets that fit into the side's dadoes. The dadoes in the ends of the fronts were cut with the inside to the fence again and the fronts held vertically. The blade was raised to 5/8" and the cuts repeated to bring them to depth. The tabs left on the front (inside) were cut off to leave the tenon to fit the 1/4" dado on the sides and leaving a slightly less than 1/4" thick overlap of the front to cover the side. This completed the locking mortise connecting the fronts and the backs.
The dadoes were cut in the sides next. After a few trials in scrap the dado width was set at 3/4" plus a thick spacer. The distance from the bottom of the dado to the bottom of the side was set with the fence at 1 9/16". The depth was set to slightly more than 1/4". The dadoes were cut on the outside of all four sides. The backs of both drawers seemed to bind as the drawer was pushed in. The tenons were reduced a bit so the back width matched the front. With the drawers assembled the movement was constrained, but free. The bottoms were cut from 3/16" plywood. The smaller drawer bottom was 10 7/8" X 12 3/8" and the larger was 10 7/8" X 13 11/16". In both cases the sizes were 3/8" over the size of the opening.
Glue was put on the outside ends of the sides and in the end dado for the large drawer. The parts were placed together with the drawer bottom in place and then clamped. A picture of the clamped drawer is shown below. The smaller drawer was glued up similarly.
Handles were made from a scrap of the Baltic Birch plywood. A 7 1/2" length was passed by the router with a round-over bit installed to cut away part of the back side. This long edge with the concave cutout was cut off with the table saw at 1". The strip was then cut in half forming the two handles having a square end profile with one corner cut out in a semi-circle. The handles were each marked for two holes; centered top to bottom and about 1 1/2" apart. Each hole was drilled with a 9/32" drill for the screw through hole. The four holes were countersunk to match the screws. The handles were clamped to the drawers on center and the drawers drilled through with a #7 drill. The holes in the drawers were threaded 1/4-20. The handles were sanded with 150 grit paper and three coats of tung oil were applied. Installing the handles with 1 1/2" long 1/4-20 screws and waxing the drawer guides completed the footstool table.
After about a year it became clear that tung oil is not sufficiently robust to use as a finish on a table. There were multiple stains on the table top from coffee drops and other unknown things. Consequently, I decided to refinish the top and the top of the shelf. The table was emptied and moved to the wood shop. The top and shelf were sanded with 220 grit paper to get rid of the stains and to prepare the wood for a new finish. Shellac was brushed on and left to dry for an hour. Two more coats were added, sanding lightly with 220 grit paper in between coats. Hopefully this finish will better resist staining from the inevitable spills.